A heat pump is one of the most practical HVAC choices for central Louisiana, where winters are mild enough that a system capable of both heating and cooling in one unit makes a lot of sense. If you’re considering one for your home, understanding what the heat pump installation process looks like can help you plan with confidence. Here’s how Southern Air handles it from the first visit to the final walkthrough.
Step 1: In-Home Assessment and Load Calculation
Every installation starts with a proper assessment and a Manual J load calculation.
This determines the exact heating and cooling capacity your home requires, based on square footage, ceiling height, insulation, window placement, and the local climate. Sizing a heat pump correctly is one of the most important parts of the job.
A system that’s too large will cool quickly but short-cycle, leaving humidity levels too high. One that’s too small will run constantly without meeting your comfort targets. The load calculation takes the guesswork out of it.
Step 2: Equipment Selection
With the load calculation results in hand, we present equipment options at different efficiency and price points and explain the differences clearly.
Heat pumps carry two efficiency ratings: SEER2 for cooling and HSPF2 for heating. Higher-rated systems cost more upfront but cost meaningfully less to operate over time, which matters when a system runs year-round.
We also assess your existing ductwork. If there are leaks or sizing issues, we discuss repairs before anything is confirmed.
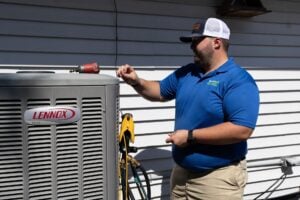
Step 3: Removing the Old System
On installation day, the existing equipment is safely disconnected and removed. Any remaining refrigerant is recovered by a certified technician in accordance with EPA regulations.
The old outdoor unit and indoor components are cleared out and disposed of properly. We protect your home throughout the process.
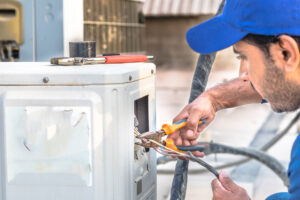
Step 4: Installing the New Heat Pump
Installation begins with the indoor air handler, which is set in place and connected to your duct system. Refrigerant lines are run between the indoor and outdoor units, and all electrical connections are made.
The outdoor unit is mounted on a level pad following manufacturer specifications. If you’re upgrading your thermostat at the same time, our team handles that too. We carry and install thermostats as part of the same visit.
For homes without existing ductwork, a ductless mini split heat pump is often the better fit. We identify this during the assessment and walk you through the difference.
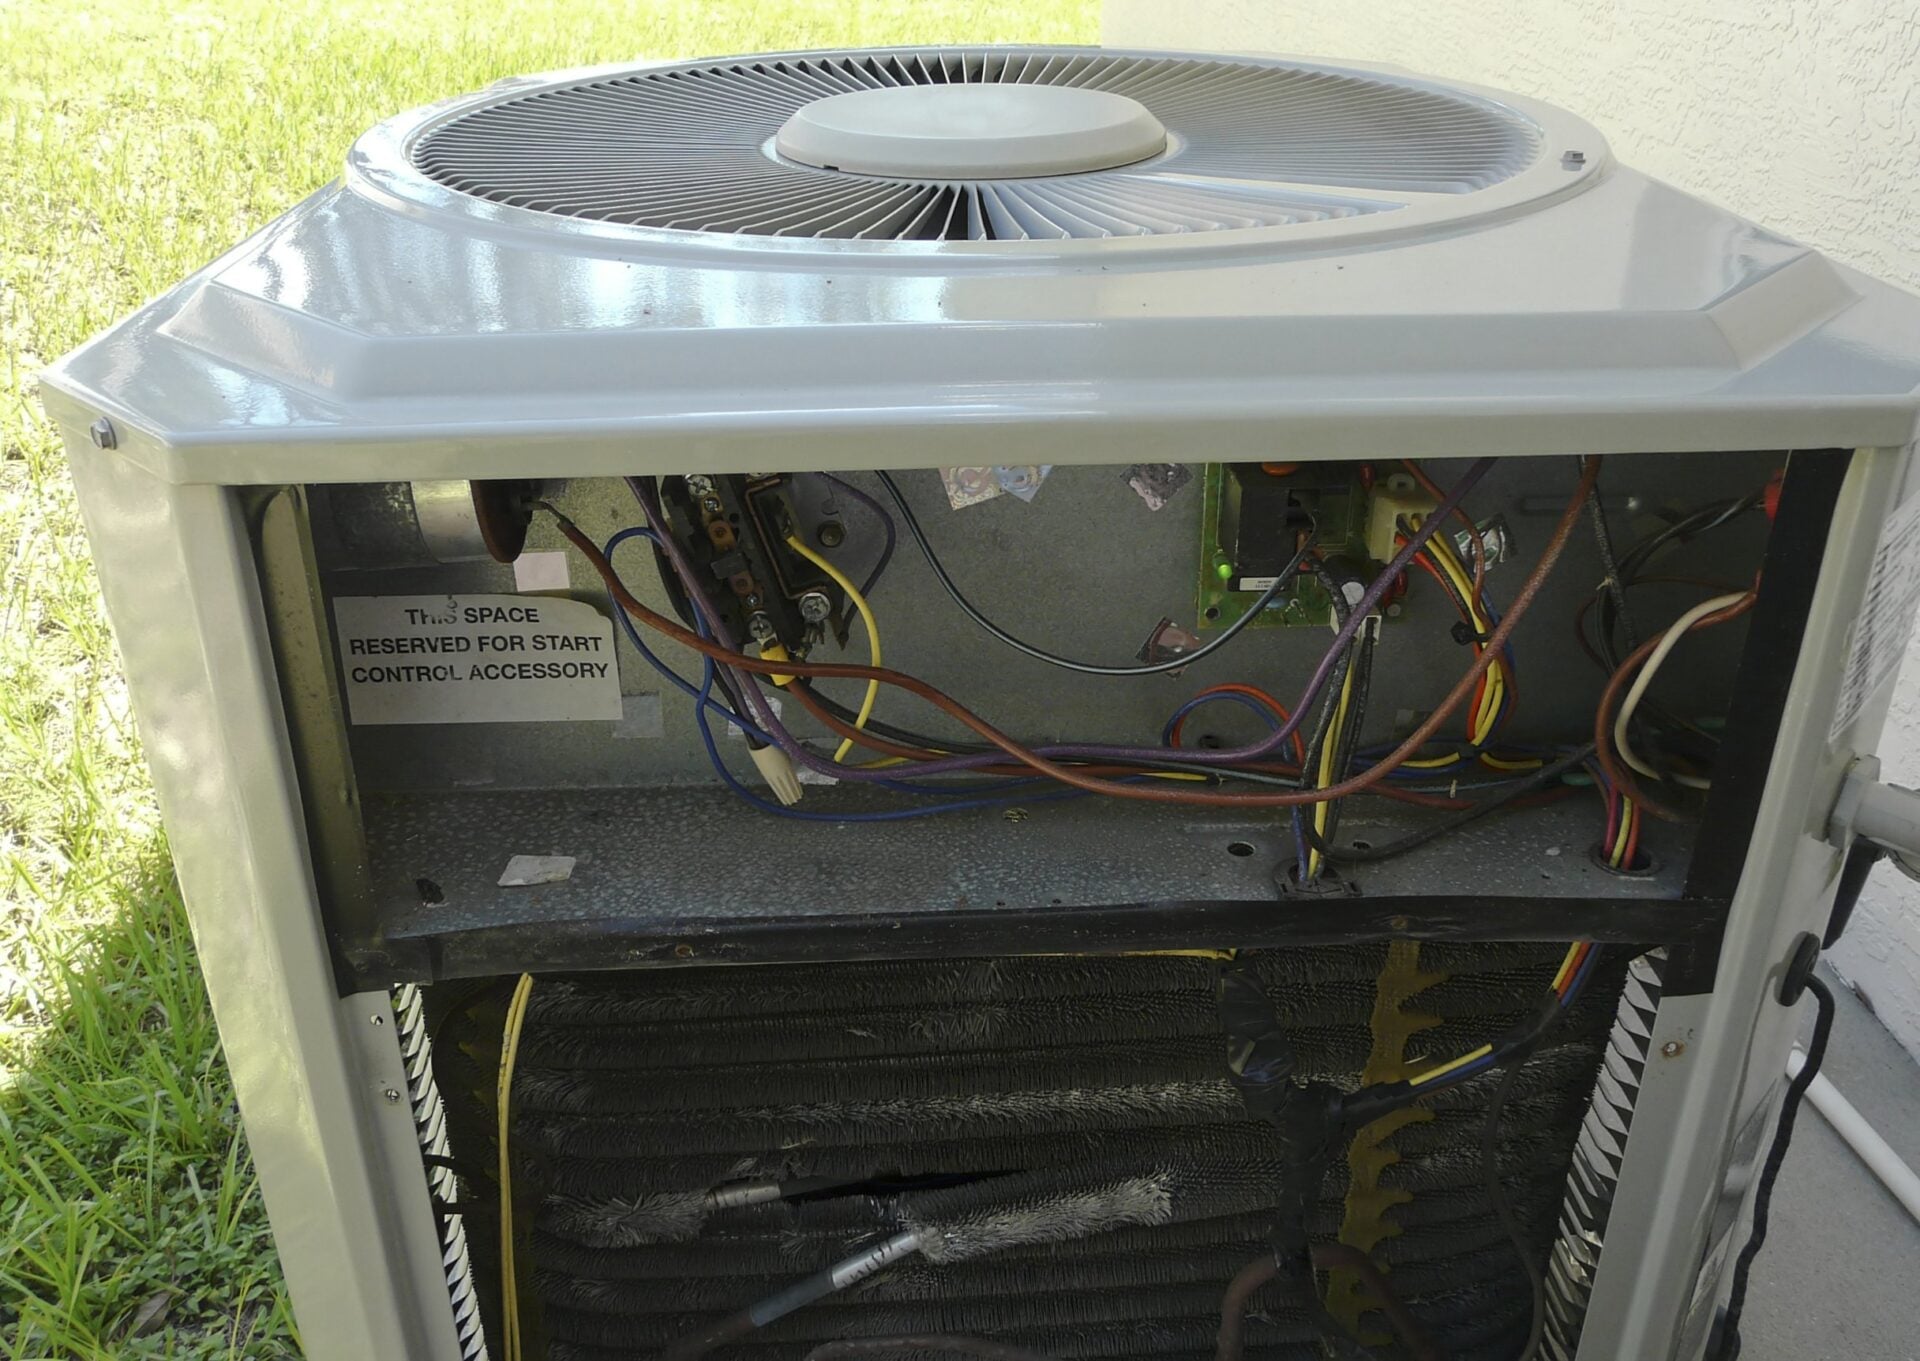
Step 5: Refrigerant Charging and System Testing
Once installed, the system is evacuated and charged with the correct refrigerant amount. Too little or too much affects both efficiency and compressor life.
We then power the system on and run a full performance test: supply and return air temperatures, airflow at every register, and all electrical components. Everything is verified before we leave.
Step 6: Walkthrough and Handoff
We close out every job with a walkthrough covering how to operate the system and set the thermostat, what filter to use and how often, and what to expect from the system day to day. We also register your manufacturer warranty and recommend keeping up with annual heating maintenance to protect the investment.
How Long Does It Take?
Most heat pump replacements are completed in a single day, typically four to eight hours. Projects requiring ductwork modifications or electrical upgrades may take longer. We give you a realistic timeline at the assessment stage.
Call us to schedule your in-home assessment and get the process started.